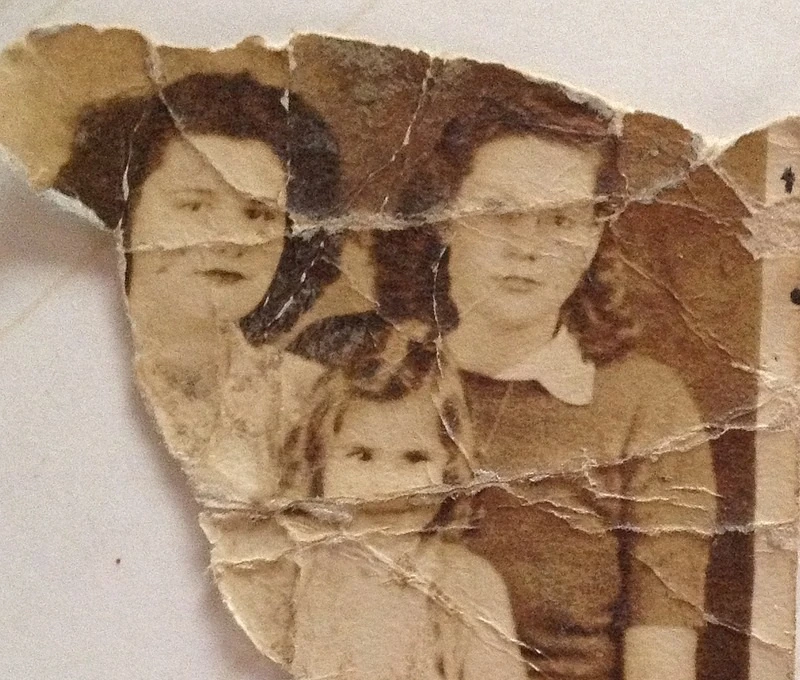
For the second test in my restoration workflow, I intentionally picked a much tougher challenge. This photo wasn’t just damaged — it was heavily faded, and large portions of the image were completely missing. Restoring it took more than just basic clean-up; it required serious experimentation and creative problem-solving.
Why This One Was So Challenging
Unlike the first image, this one lacked clear structure in several areas. The facial features were barely visible, and much of the background detail was lost. It forced me to push my AI workflow — especially inpainting and prompt tuning — much further.
How I Handled the Restoration
- Enhanced contrast and structure using preprocessing before sending it through ComfyUI.
- Used custom inpainting prompts to reconstruct large missing sections while keeping the results believable.
- Fine-tuned restoration strength — striking a balance between creative fill-in and preserving what little original data remained.
- Iterated with multiple runs, comparing outcomes until I found a result that felt both faithful and complete.
The Result
After some back-and-forth tweaking, I was able to bring the image back to life. It’s not just about making it “look nice” — it’s about restoring emotional and historical value that would otherwise be lost.
What I Learned
This test taught me a lot about handling edge cases — images where traditional restoration tools fall short. My workflow now has better flexibility, and I’ve developed a clearer sense of when to use subtle tweaks vs. full reconstructions.
If you want to give i a shot yourself, here is the file: